Your Very Own Liquid Gold (How to Brown Butter)
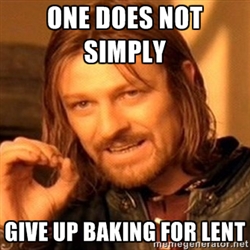
With Lent almost upon us, I thought I should casually mention that I’m giving up *drum roll*…BAKING.
This perfectly illustrates how every person has responded to the news that the Nguyen Kitchen of Sweets will be temporarily closed during the season of Lent. I thought I would generate my own caption:
Hey, I thought I would be doing everyone (and my waistline) a favor by not making cake, cookies, and other sinfully delicious desserts every other day. Of course, I will still bake savory things and every Sunday will still be my bread baking day. But no sweets for 40 days, gah. It’s going to be a struggle. But we have a couple of days left! I’ve been working on this post for a while now. It features one of my most favorite things in the food world. It’s definitely not healthy, but I’m all about moderation (or at least I try to be). And because it’s so much more flavorful, you’ll need to use less of it. Behold:
Brown butter.
If you’re not drooling yet, you should: 1) Hold up the your index and middle finger, 2) Put those fingers to the side of your neck, and 3) Check to see if you still have a pulse.
Heart still beating? Good. Maybe you just haven’t an inkling what brown butter is. Let me enlighten you.
Called beurre noisette by the French, or hazelnut butter, it is the equivalent of liquid gold in terms of cooking and baking.
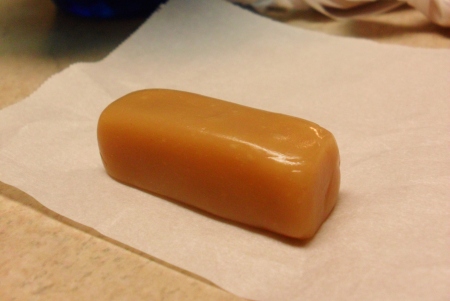
Brown butter is so simple and yet unbelievably delicious at the same time. The smell of butter browning is heavenly. It is said to have a nutty aroma that is reminiscent of toasted hazelnuts (hence the name). To be honest, I have never smelled toasted hazelnuts so that comparison tells me and probably you nil about the mouthwatering aroma of brown butter. Every year my mom makes her increasingly famous caramels for the holiday season. Brown butter kind of smells like caramels are perpetually being made…can you imagine?!
This is a snapshot of caramels I made last year, using the microwave.
Brown butter adds a whole new depth of flavor. Essentially what you’re doing is heating butter until the milk solids become wonderfully toasted. The buttery flavor is intensified and there are notes of pure nutty deliciousness. I really can’t say much more than that. You just have to try it for yourself.
Brown butter is my secret ingredient. Incredible snickerdoodles? Brown butter. Whole lemon bars? Brown butter incorporated into the shortbread crust. Best ever apple crisp? Cinnamon-y apples bathed in brown butter and brown sugar (YUM). If I had to eat one thing for the rest of my life? Obviously, brown butter.
I’ve mentioned brown butter in the context of baking for which it does marvels. But it can also be used to suffuse a savory dish with its nutty buttery goodness. Try using it as a base for a pasta sauce, tossing it with steamed vegetables, or using it in any recipe that calls for melted butter. The next time I sauté shrimp I’m going to brown the butter instead of merely just melting it. And it will be magical.
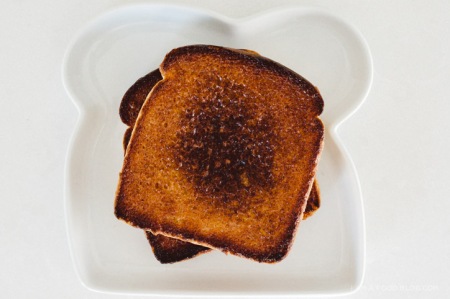
Hold up. What does butter go naturally with? TOAST. How did I not think of this before?!
BROWN BUTTER TOAST.
Ready to learn how to make brown butter? Let’s do it.
How to Brown Butter
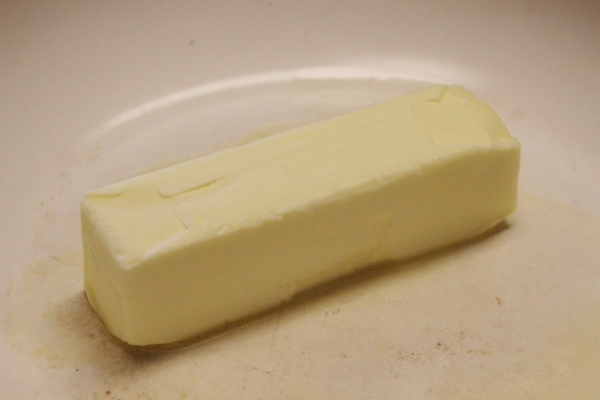
First, get some but-tah. Any amount will be fine, but I wouldn’t recommend doing more than a stick and a half at a time because you might risk it browning unevenly. It would be a shame to have your brown butter not realize its full potential. Cut your butter into tablespoons (again so it’ll melt more evenly). Clearly I did not follow this step as indicated by the photo, oops.
Check out that glorious stick of butter. Note: the pan that you use is extremely important. It is nearly impossible to truly gauge the actual color of the melted butter in a dark-colored pan. I’ve used one before, but it is a lot of work (constant switching between checking the color in a bowl and continuing to heat the butter in the pan). Make your life easier by using a light-colored pan.
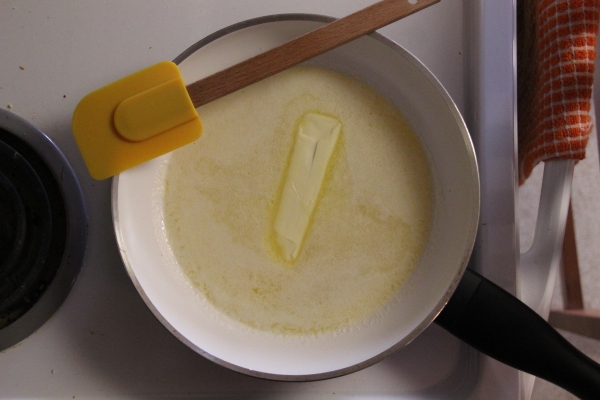
Melt the butter over medium heat, stirring constantly. This is essential to perfectly browning butter. You want all of the butter to melt before the milk solids start to brown. The following shot was an attempt at being artsy. Obviously, I would be stirring the heck out of that butter.
I usually use a heat resistant spatula to stir. A lot of methods will tell you to use a whisk, but I disagree. Metal whisk + metal pan = raucous disturbance (I apologize roomies if I was responsible for any past headaches). Make sure to scrape the bottom of the pan while you are stirring.
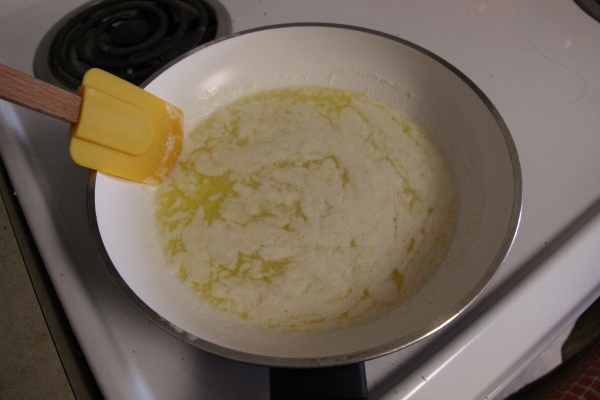
There are usually two stages that occur once the butter has melted. First, it will destabilize and start to separate. You will see a distinct light layer of milk solids congregate at the top. Keep stirring.
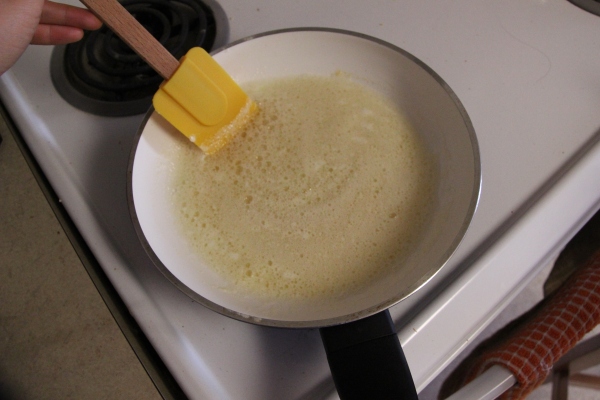
The second stage comes when the top starts becoming more foamy. It will be difficult to see anything below that layer of foam. The motion of stirring should move the foam around enough that you can peek at the color. It is crucial that you watch carefully and don’t leave the butter on for too long. We’re going for brown butter here, not black butter.
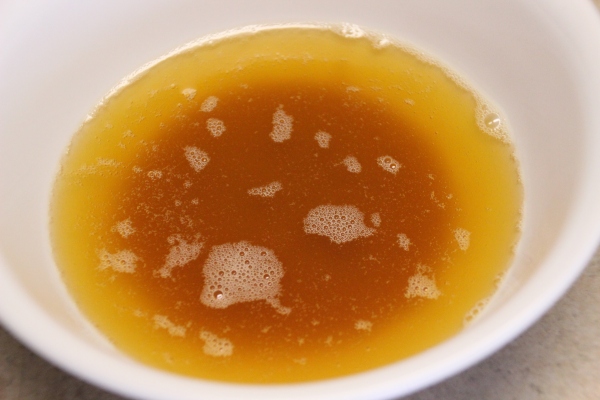
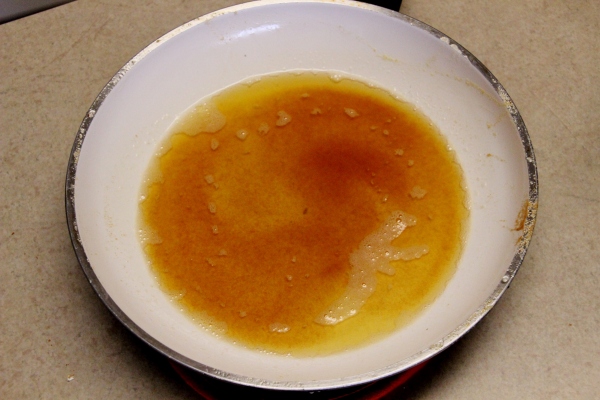
The level of browning is up to personal preference. Some people prefer their butter browned to the point where it tastes slightly burnt. I prefer my cookies to taste nutty and not slightly like charcoal, thank you very much. I like to let the solids get to a beautiful golden brown which usually takes a little over 5 minutes for me on my stove (see photo below). Times will vary with the amount of butter you use, the type of pan you have, and how powerful your stove is. If you’re not sure, err on the side of under-browned. You can always put it back in and continue browning it. Once the butter has gotten to a level you are happy with, remove from heat AND the pan. Pour it into a bowl, incorporate it into a sauce, drink it straight up (DO NOT actually do this, you will burn yourself), just GET IT OUT OF THE PAN. If you leave it in the pan, it will continue to cook and possibly burn. Burnt butter cannot be salvaged. It is a very sad day when that occurs.
Look at that. What a beaut. If you’re going to use it in baking, let the brown butter rest for a while. You don’t want it to scramble eggs or melt mixing bowls. You can let it solidify and use it on all sorts of things. Refrigerated, brown butter can last for up to two weeks, but I doubt it’ll last that long in your kitchen. You could maybe make a BROWN BUTTER FROSTING (man, all these ideas I keep coming up with!). If you’re replacing melted butter in a baking recipe with brown butter, be forewarned that a small amount of liquid has been lost in the browning process. J. Kenji Lopez-Alt over at the Food Lab on Serious Eats recommends adding one ice cube (about 2 tablespoons of ice cold water) to replace that moisture and cool it down. Otherwise, it shouldn’t make a noticeable difference in your baked goods in terms of moisture. In terms of taste, whew! Whatever it is you’re using it in will be elevated to the next flavor zone.
Though brown butter adds a whole new dimension of depth to any food item, be sure that the flavors aren’t too delicate. You might find that brown butter might be too overwhelming in certain dishes or baked goods, and that good ol’ plain butter might be more suitable. Experiment! Find out what butter can do for you (I feel like I’m quoting a pharmaceutical commercial…).
And that, readers, is how I brown my butter. Now go forth and put your newly acquired knowledge to use. If you have any questions, please leave them in the comments below. Make something delicious! Your life will change for the butter.
Here’s to the cows that are the source of our butter,
Mary

